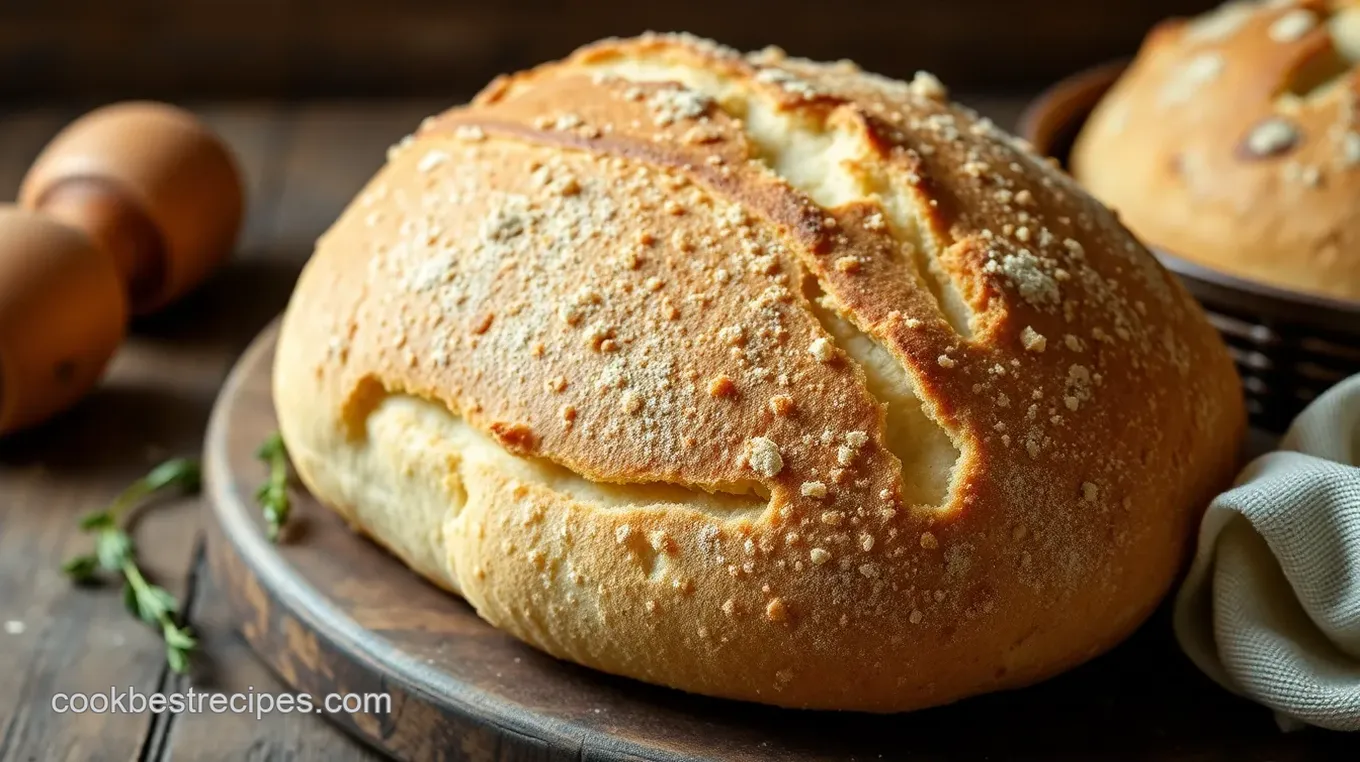
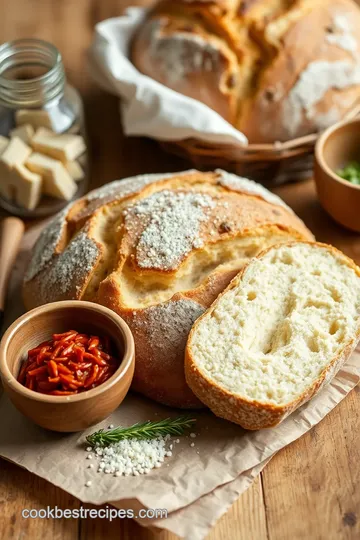
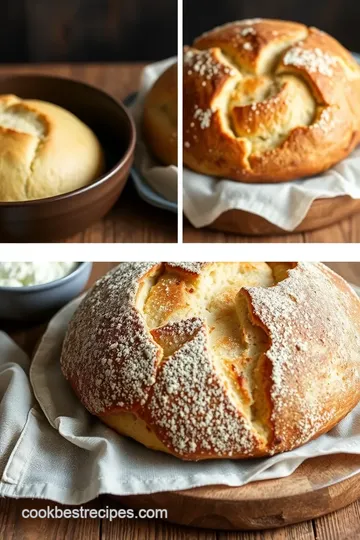
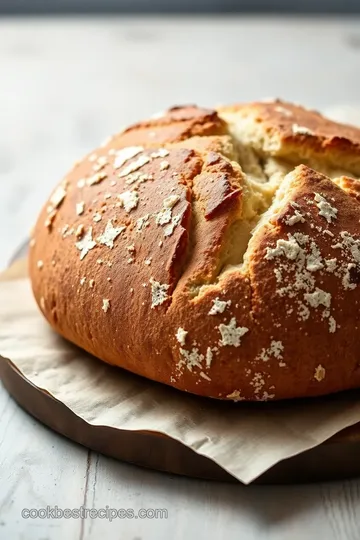
No Knead Bread with a Crusty Exterior
Craving the best No Knead Bread with a Crusty Exterior? This effortless recipe yields a soft, flavorful loaf perfect for any occasion. Get started today!

- The Magic of No Knead Bread with a Crusty Exterior
- A Delicious Journey Through Bread History
- Why You'll Love This Recipe
- Ready to Start Baking?
- Essential Ingredients Guide
- Professional Cooking Method: Mastering the Art of No Knead Bread
- Pro Tips & Secrets for Perfect No Knead Bread
- Perfect Presentation of Your Loaf
- Storage & Make-Ahead Tips
- Creative Variations to Try
- Complete Nutrition Guide
- Final Thoughts
- Frequently Asked Questions
- Recipe Card
The Magic of No Knead Bread with a Crusty Exterior
Okay, picture this: it’s a sunday afternoon, and the smell of freshly baked bread wafts through your kitchen. oh my gosh , i can practically hear the angels singing! that’s the kind of joy that comes from making no knead bread with a crusty exterior .
Honestly, if you've ever been intimidated by baking bread from scratch, i totally get it. but trust me, this easy bread-making technique turns beginners into pros!
So here’s a question for you: what’s better than biting into a still-warm loaf with that perfect, crunchy crust and a soft interior? absolutely nothing! this artisan bread recipe isn’t just about great taste; it’s about the experience.
You get to fill your kitchen with the aroma of home-baking without rolling up your sleeves and kneading dough for ages.
That's right, we’re talking no-knead bread magic!
A Delicious Journey Through Bread History
Let’s take a little detour into the past, shall we? the no-knead bread technique was popularized by jim lahey back in 2006.
It's a game-changer for home bakers everywhere. this method uses a high-hydration dough , which equals less work and more flavor.
And if you give it some time to rise, you get that crusty loaf that looks like it came straight out of an artisan bakery.
Today, this recipe is everywhere! it resonates with busy folks looking for easy, effortless bread recipes. you can whip it up even when you have a million other things on your plate.
Plus, the ingredients are basic—your standard flour, water, salt, and yeast. it's a winner for anyone watching their grocery bill too, just a few bucks will get you a couple of loaves.
Why You'll Love This Recipe
Now, let’s dive into the key benefits of this crusty bread. first off, health-wise, homemade bread is often better than store-bought.
You control what goes in. want to sneak in some whole grains or seeds? go for it! this rustic bread recipe is way more than just a loaf; it’s versatile.
You can serve it at holiday gatherings or for a cozy family dinner. pair it with a warm bowl of soup, or just enjoy it with butter for breakfast.
You could even impress guests at a dinner party with your homemade artisan loaf. i mean, showing up with fresh bread? instant hero status!
And let’s not forget the unique selling points —this bread is incredibly easy! no fancy techniques required. just mix, let it rise, and bake.
You’ll be shocked at how simple it is. plus, with its unbeatable crust and airy interior, it’s a showstopper!
Ready to Start Baking?
Pumped up to make your own no knead bread with a crusty exterior? i can almost hear your oven preheating! before you know it, you’ll be slicing into a loaf so good, you might need to guard it from hungry family members.
It’s time to gather your ingredients and get ready for some yummy fun.
Next up, let’s check out what you need to make this incredible bread come to life. trust me, once you see how simple this bread baking for beginners can be, you’ll never want to go back to store-bought again.
It’s all about that heartfelt connection with food, and making this bread is just the start. so, grab that flour, and let’s do this!

Essential Ingredients Guide
If you’re diving into the world of baking bread—especially that no knead bread with a crusty exterior —you’re gonna want to feel confident about your ingredients.
Trust me, knowing your way around flour, yeast, and salt can make or break your rustic bread recipes. but don't worry; i got your back.
Let’s break it down so you can whip up some effortless bread recipes in no time!
Premium Core Components
First up, let’s talk about the premium core components . Here's what you'll need:
- Flour : For No Knead Bread , all-purpose flour is your best buddy. Use about 3 cups (375g) . If you want something chewier, swap in some bread flour.
- Salt : Always add salt for flavor. You’ll need 1 1/4 teaspoons (7g) of salt. It might seem like a little, but trust me!
- Yeast : A half teaspoon (that's about 2g ) of instant yeast is key for that rise without hassle.
- Water : Use 1 1/2 cups (360ml) of lukewarm water. Too hot, and you’ll kill the yeast; too cold, and it won't wake up!
Storage tips : Keep flour in an airtight container in a cool, dry place. Yeast? Make sure it’s also stored cool and dry.
Oh, and freshness tip : Before you bake, make sure everything smells good. If your flour is outdated, it’s time to toss it.
Signature Seasoning Blend
Baking bread is a beautiful blank canvas. You wanna jazz it up? Try adding some signature seasonings.
- Essential Spice Combinations : A sprinkle of garlic powder or some Italian seasoning goes a long way.
- Herb Selections : Fresh rosemary or oregano can really elevate that homemade artisan loaf feel.
- Flavor Enhancers : Olive oil is your friend here—just a tablespoon can add depth.
And don’t forget, regional variations are key! Try adding cumin for a Southwest twist or poppy seeds for a classic look .
Smart Substitutions
Sometimes, life throws you curveballs—you run out of yeast or didn’t get to the store for flour. No sweat! Let’s chat about smart substitutions :
- Common Alternatives : Can't find instant yeast? Active dry yeast works just fine, but give it a little warm-up in water first.
- Dietary Modifications : Gluten-free flour is a game changer. There’s a lot of good blends out there if that’s your jam!
- Emergency Replacements : No all-purpose flour? Use whole wheat flour or even rye flour for a different flavor profile.
- Seasonal Options : In fall, add pumpkin puree for a lovely autumn twist.
Kitchen Equipment Essentials
Alright, now onto the tools of the trade!
- Must-Have Tools : A large mixing bowl, a wooden spoon or spatula, and a good ol' Dutch oven are essential for that perfect crust.
- Alternative Equipment Options : If you don’t own a Dutch oven, any heavy oven-safe pot with a lid can do the job.
- Preparation Tips : Make sure your pot is thoroughly preheated—this is key for that no-knead bread crust perfection.
- Storage Solutions : Keep your baking essentials organized. Having a designated spot for flour and containers for your spices makes life easier.
You’re now well on your way to making some lip-smacking homemade bread! Just think—your family and friends are gonna be wowed by your baking bread from scratch skills.
Before you know it, you'll be serving up warm slices of buttery, crusty bread at home just like the pros.
And next, i'll walk you through the actual instructions to create your very own simple bread recipe that’s all about that delightful texture and flavor.
So, let’s get cooking!

Professional Cooking Method: Mastering the Art of No Knead Bread
Alright, let’s dive into the delightful world of no knead bread with a crusty exterior. there’s something magical about whipping up a fresh loaf of bread at home that fills your kitchen with that warm, inviting aroma.
This recipe doesn’t just promise ease; it practically screams “artisan bread recipe” for those who think bread making is complicated! so, buckle up; we’re about to conquer this rustic bread together, step by step.
Essential Preparation Steps
First things first, let’s chat about mise en place . it’s a fancy term meaning "everything in its place." cut those distractions; gather all your ingredients and tools—flour, water, yeast, salt, a large bowl, and a dutch oven.
Believe me, this little prep makes the process smoother than a nice slice of soft interior bread right out of the oven.
Next up, managing your time. bread doesn’t have to be a stress ball situation! you’ve got about 12- 18 hours of rest time for the dough, which is mostly hands-off.
Just pop it aside and let it do its magic. also, don’t forget organization strategies. dust the counter, clear some space for your bread-baking adventure, and grab some parchment paper if you have it lying around.
And of course, there are safety considerations. Always handle that Dutch oven with care. It gets hot, like, really hot. We don’t want burns when we can have crusty bread instead!
Step-by-Step Process
Ready to get your hands a little doughy? Let’s break it down!
-
Combine Dry Ingredients: In your big bowl, whisk together 3 cups of flour , 1 1/4 teaspoons of salt , and 1/2 teaspoon of yeast .
-
Mix the Dough: Pour in 1 1/2 cups of lukewarm water . Mix it until it looks like a shaggy mess. No dry flour allowed!
-
Initial Rise: Cover it up and let that bad boy rest overnight. Set it and forget it! Trust me, it’ll result in a light, high-hydration dough that’s a dream to work with.
-
Shape the Dough: Dump the gluey dough out on a floured surface. Gently fold it over a few times—no need to go all Hulk on it!
-
Second Rise: Let it chill again, covered, for about 1- 2 hours .
-
Preheat the Oven: Crank your oven up to 450° F . Throw your Dutch oven in there to heat, too.
-
Transfer Dough: This part is a test of your coolness—carefully place parchment paper in the hot pot. Lower the dough in, and don’t let it touch the sides.
-
Bake: pop it in the oven. cover it for 30 minutes . after that, remove the lid and let it bake for another 15- 20 minutes .
You want that golden brown goodness!
-
Cool: Don’t slice it right away! Let it cool on a rack for a bit. Your patience will pay off.
Expert Techniques
Some of these expert techniques can really help elevate your game. always check on the dough hydration; it should feel sticky as that helps create a fluffy texture in the end.
If you live in a dry climate, you might need a little more water.
Critical steps like preheating the dutch oven are crucial! it makes that crusty loaf baking perfection possible. and if things start to go south? no worries! dough not rising? yep, sometimes it happens.
Just ensure it’s getting that good warmth and time it needs to rise.
Success Strategies
Let’s keep this rolling with some success strategies. common mistakes? well, for starters, don’t rush the rest times. those dough rise times are non-negotiable.
Checkpoints like measuring ingredients accurately help a lot, too.
Also, let’s talk about make-ahead options. You can always prep the dough a day ahead and bake fresh bread whenever you want. It makes for quick homemade bread that'll wow your family.
And there you have it! an effortless journey into baking no knead bread with a crusty exterior. just remember, the art of baking bread is like taking a stroll; it's all about enjoying the process.
For some extra goodies , in the next section, we’ll dive deeper into Additional Information for anyone wanting to explore all things bread making!

Pro Tips & Secrets for Perfect No Knead Bread
Alright, friends, let’s dive into my personal treasure trove of no knead bread with a crusty exterior tips. this recipe might seem super simple, but there are a few tricks up my sleeve that can really elevate your rustic bread recipes game.
First up, use quality flour . trust me on this. high-protein flour makes a world of difference because it helps create that delightful structure and flavor.
You can find this in just about any grocery store, so don’t skimp!
If you’re looking for some time-saving techniques , try mixing your dough in the evening. let it rise overnight, and boom—fresh bread for breakfast! it’s that easy .
Plus, you’ll have your friends thinking you’re some kind of kitchen wizard whipping up homemade artisan loaves with no effort at all.
When it comes to flavor enhancement , oh my gosh, this is where the magic happens! toss in herbs like rosemary or garlic for a twist.
You won’t believe how these little additions can elevate your crusty bread at home . just sprinkle them right in when you whip up your dry ingredients.
Now, let’s chat about presentation because we eat with our eyes first, right?
Perfect Presentation of Your Loaf
To make your no knead bread look insta-worthy , follow these plating techniques. when you take your bread out of the dutch oven, let it cool on a wire rack.
This keeps the crust from getting soggy—total game changer! then, when you slice into it, serve on a wooden board with a little butter dish on the side.
I love using color combinations to entice the eye—think bright butter paired with dark, golden crust.
For a simple garnish, fresh herbs on the board make it pop. Just a little sprig of rosemary can elevate your bread's vibe from "homestyle" to gourmet .
Storage & Make-Ahead Tips
Now, let’s not forget about storage and make-ahead options. if you find yourself with leftovers—though i doubt it!—here’s how to keep that soft interior bread delicious.
Wrap your loaf in a clean kitchen towel and then place it in a paper bag. avoid plastic because it traps moisture and will make your prized crust a little sad.
For freshness duration , you can keep your bread at room temperature for about 2-3 days. if you wanna keep it longer, slice it and pop it in the freezer.
Just reheat individual slices in the toaster or on a pan. quick homemade bread fix, anybody?
Creative Variations to Try
Let’s talk about creative variations ! if you want to switch things up, you can play around with flavor adaptations.
Try incorporating different seeds, like chia or sunflower—this not only adds crunch but also bump up the nutrition.
If you wanna go more seasonal, think about adding dried cranberries or pumpkin seeds come fall. It’s like having a bread for breakfast that matches the season!
For those with dietary restrictions, you can easily do swaps. Whole wheat flour works great for a heartier texture. And if you’re feeling adventurous but worried about traditional yeast, this could even be a great sourdough alternative if you let a natural starter ferment a bit!
Complete Nutrition Guide
Alright, let’s wrap it up with the nutrition guide . a typical slice of this no-knead bread has about 150 calories , with 5 grams of protein.
Not too shabby for a carb fix! if you're mindful of your sugar intake, you'll be glad to know it has zero sugar.
Want more fiber? add some flax seeds or swap in whole wheat flour like i mentioned earlier. the dough isn’t just about filling bellies; it can do wonders for your nutritional goals as well.
Final Thoughts
So there you have it! from pro tips to inventive variations, you’ve got everything you need to make this easy, crusty loaf.
Whatever you do, remember this isn’t just about bread baking; it’s about the love and time you put into it.
This no-knead bread technique is about keeping it simple while still crafting something delightfully impressive.
Get your apron on, and go show off your amazing bread skills to friends and family. I can’t wait for you to share your own crusty loaf baking times and stories! Happy baking, friends!
Frequently Asked Questions
What is No Knead Bread with a Crusty Exterior?
No Knead Bread with a Crusty Exterior is a simple method for making bread that requires minimal effort and no traditional kneading. This bread features a beautifully crusty outer layer, while the inside remains soft and airy. It's perfect for beginners and offers the delightful flavor and texture of artisan bread.
Can I use whole wheat flour for this recipe?
Yes, you can definitely use whole wheat flour! However, it's best to substitute only part of the all-purpose flour (about 1 cup) for whole wheat flour to maintain a light texture. The remaining flour should stay all-purpose to help with the rise and crust formation.
How can I achieve a better crust on my No Knead Bread with a Crusty Exterior?
For a crustier exterior, make sure to preheat your Dutch oven thoroughly before adding the dough—this creates steam that aids in crust development. Additionally, consider removing the lid during the last few minutes of baking to allow the crust to brown further and crisp up.
How should I store my No Knead Bread with a Crusty Exterior?
To keep your bread fresh, wrap it in a clean kitchen towel and store it at room temperature for up to 3 days. For longer storage, you can slice the bread and freeze it in a sealed bag for up to 3 months. Just thaw at room temperature or toast slices directly from the freezer.
Can I add other ingredients, like herbs or cheese?
Absolutely! Feel free to experiment by incorporating herbs, garlic, or cheese into the dough. Adding 2 tablespoons of dried herbs or 1/4 cup of cheese can enhance the flavor and make your No Knead Bread even more delicious.
Is there a gluten-free option for making this type of bread?
While this recipe is designed with all-purpose flour, you can try using a gluten-free flour blend that is suitable for baking. However, the texture and crust may differ from the original recipe, so it might take a few experiments to get it just right.
No Knead Bread with a Crusty Exterior Card

⚖️ Ingredients:
- 3 cups (375g) all-purpose flour
- 1 1/4 teaspoons (7g) salt
- 1/2 teaspoon (2g) instant yeast
- 1 1/2 cups (360ml) lukewarm water
- Additional flour for dusting
- Cornmeal or parchment paper for lining the pot (optional)
🥄 Instructions:
- Step 1: In a large bowl, whisk together flour, salt, and yeast.
- Step 2: Pour in the lukewarm water and mix with a wooden spoon until a shaggy dough forms without dry flour.
- Step 3: Cover the bowl with plastic wrap or a cloth, and let the dough rest at room temperature for 12-18 hours until bubbles form on the surface.
- Step 4: Lightly flour a clean surface, pour the dough onto it, and gently fold it over itself a few times to shape into a round loaf.
- Step 5: Let the shaped loaf rest on the floured surface for about 1-2 hours, covered with a cloth.
- Step 6: Place a Dutch oven (with the lid) in the oven and preheat to 450°F (230°C).
- Step 7: Carefully remove the hot pot, place parchment inside (if using), and gently lower the dough into the pot.
- Step 8: Cover with the lid and bake for 30 minutes. Remove the lid and bake for an additional 15-20 minutes until the loaf is golden brown.
- Step 9: Remove from the pot and allow the bread to cool completely on a wire rack before slicing.
Previous Recipe: Easy Dipped Peanut Butter Balls for Sweet Treats: A Family Favorite!
Next Recipe: Easy & Delicious Bake Ham Egg and Cheese Hash Brown Muffins: My Family Favorite
